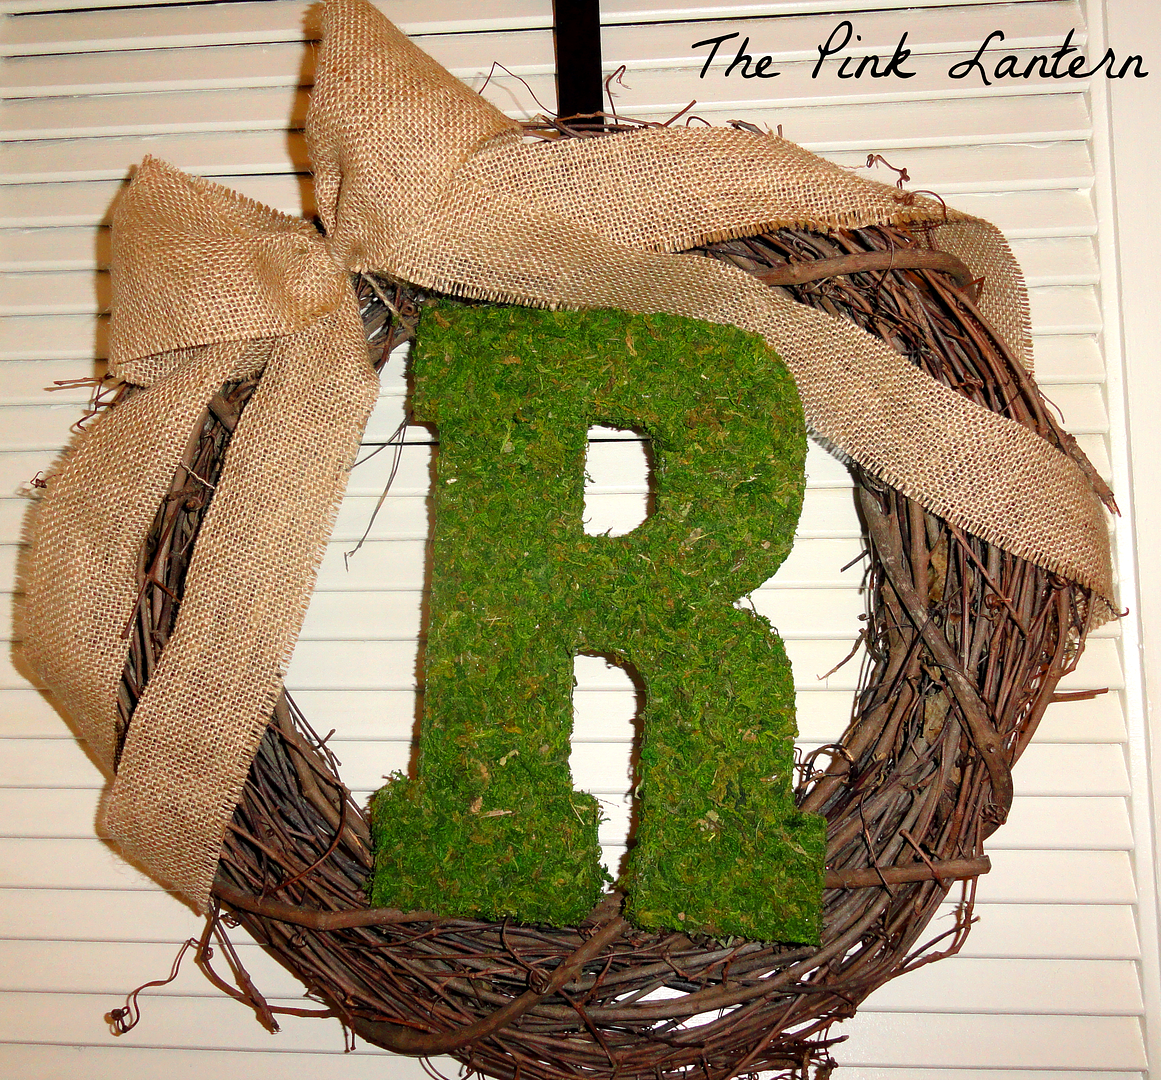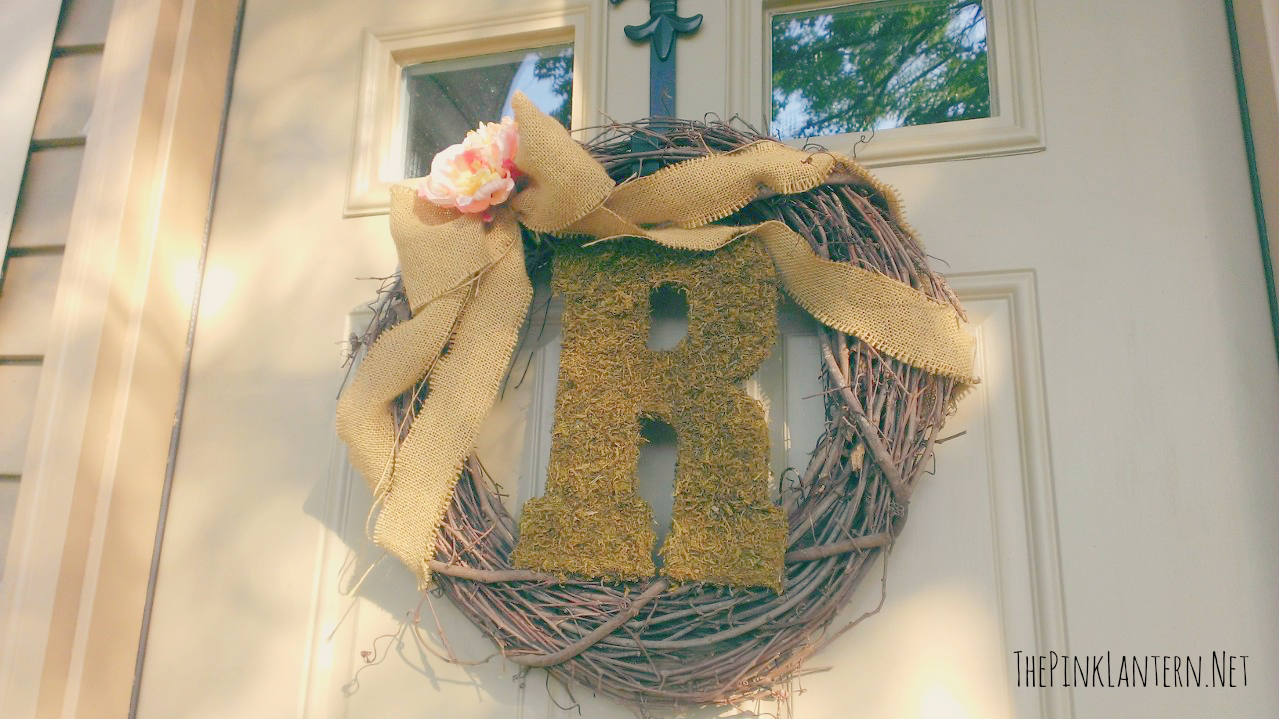
I've received a few questions about how I made the mossy monogram wreath I shared in last week's Summer Porch post. While I don't have many pictures of the process I figured I could still put together a little tutorial for you. :)
Supplies:
-Grapevine wreath (full size, not mini)
-Sheet moss (I picked mine up at Joann's- Panacea brand)
-Wooden initial (I used a thin plywood one from Michael's)
-Burlap ribbon
-Hot Glue Gun
-Twine
-Scissors
-Sharpie
First thing is first - lay out an old sheet or trash bag. The moss is messy! Unfold your sheet moss, it looks like this:
Flip the moss sheet over. The kind I used had a sticky back so it was covered in paper. That was perfect because I was able to just lay my R down and trace it with a sharpie. Be sure to trace a piece to fit the front! That means you'll want the letter to look backwards while tracing. Cut out your letter then peel off the paper backing. Even though the moss is a little sticky I hot glued it to the letter since this was going outside. Work in sections so your glue doesn't cool before the moss is stuck. I could recommend cutting a little outside of your traced letter, that way you can fold the moss around the edge of the letter. I didn't think to do this, so I ended up using scraps to cover the edges. Either way works!
I didn't cover the back of my letter, it is just facing the door so I figured there was no need. I hot glued a few twine ties to the back and used them to attach the letter to the grapevine. This worked great because I was able to weave the twine into the grapevine for a good {yet hidden} hold.
Finally I tied a burlap bow. I attached the bow as well as the long ribbon ties. By attaching the ties it has helped keep the burlap from fraying, a lesson I learned from my Christmas wreath. I've had my wreath outside for several months now and it is holding up really well. I believe this is in part to the sheet moss opposed to loose moss. As my wreath has been outside the moss has changed color a bit, you can see the difference from the first & last pictures. It started out bright green and is now a muted green-brown. I actually prefer the latter, I feel like it looks much more natural!

I'm linking up with: Glamorous, Affordable Life, Liz Marie Blog


This is a great idea!! So many great possibilities using this technique!
ReplyDeleteFotini